Growing up in the south, there was rarely enough snow to build even the puniest of snowmen and that needless to say, would last mere minutes before it quickly sank into a puddle of coal and a carrot! My mom knew of my wishes to have a snowman at Christmas time and one balmy December day brought home a big shopping bag from Wynn's. It was filled with huge styro foam balls, cotton batting, sticky glue and various odds and ends of Christmas type decorations! Everything we needed to build a giant (or at least that's how I remember it) Snowman I named Chilly Willy! My Snowman, unfortunately didn't weather very well all these many years later, what with squirrels in the attic, ( they ate his artificial carrot nose) and getting smushed under boxes of old clothes! So a couple of years ago, I decided to recreate Chilly Willy the Snowman, only a much smaller version, as the original was over 30" tall, and this one is about 15" tall.

A Quick and Easy project to create and for only pennies!
Needed is one raw wooden precut base and some White acrylic crafts paint, disposable brush. Paint base and let dry.

3 styro foam balls, one large, one medium, and one small, a box of straight pins, natural cotton batting, and a wood dowel,

Cut the batting into squares larger than the styro foam ball you are covering, gently pull batting in place around ball and secure with straight pins. Do all three balls this way.
With hot glue attach the bottom largest ball to wood base and slide on a wooden dowel, then slide next finished ball (medium) on the dowel, adding a bit of hot glue to where they meet.

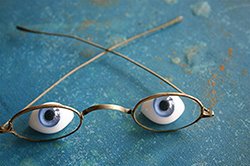
Pick out some nice vintage shoe buttons for the eyes.

Glue the eyes in place with fabric glue.

Go on a lovely nature walk and collect some nice twigs to use for arms,even if they have a bit of moss on them, it only adds to the Snowman's charm! And just poke them into place at his sides.
Use a small bit of Sculpy polymer clay to create a faux carrot for his nose, roll into an elongated shape and with the side of a needle make little hash marks to resemble a carrot, bake according to the package directions, let cool and paint with one coat of orange acrylic paint.

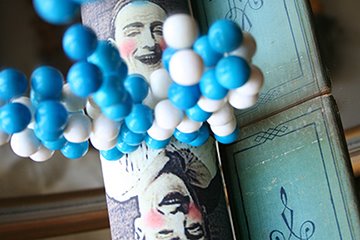
Use jet black glass beads and straight pins for the buttons on his lapel.

As for a hat, well, it's your Snowman so create what you like, I created a paper stovepipe top hat for mine. You can find the complete instructions on how the create hats like these in my book, Fanciful Paper Projects.

Make him a cozy little scarf out of fabric remnants. All you need is a piece about 8" long and an inch wide, cut teeny little slits on the ends for fringe.

Use 3 black straight pins, the kind with the glass ball on top, for his grin.

And there you have it, a Chilly Willy Snowman of your very own!

How lovely a pair of these guys would look on either side of your fireplace mantel!
And the best thing about this Snowman is you don't have to worry about him ever melting!